How to Make Soy Candles at Home: A Beginner’s Guide
Making soy candles at home can be a fun and rewarding DIY project that not only saves you money but also allows you to create unique and personalized candles for your home or as gifts. In this beginner’s guide, we’ll walk you through the step-by-step process of making soy candles at home, covering the necessary materials, safety precautions, and tips for achieving professional-looking results.
Why Choose Soy Candles?
Before we dive into the process, let’s briefly discuss the benefits of soy candles. Soy wax is a popular choice for candle-making due to its eco-friendly and sustainable properties. Soy wax is:
- Biodegradable and non-toxic
- A renewable resource
- Has a cleaner burn than paraffin wax, producing less soot and toxins
- Available in a range of melting points, making it suitable for container candles, votives, and tea lights
Materials Needed
To get started, you’ll need the following materials:
- Soy wax flakes or granules
- Cotton wick (available in various sizes)
- Melting pot (a double boiler or a dedicated candle-making pot)
- Thermometer
- Colorants (optional)
- Fragrance oils (optional)
- Candle mold (you can use silicone, plastic, or glass molds)
- Wick tabs or wick clips
- Rubber spatula
Safety Precautions
Before you begin, make sure you follow these essential safety precautions:
- Work in a well-ventilated area, away from children and pets.
- Use protective gear, such as gloves and goggles, to prevent skin and eye irritation.
- Keep the melting pot and surrounding area clean and clear of flammable materials.
- Never leave the melting pot unattended or near an open flame.
Step-by-Step Instructions
Now that we’ve covered the basics, let’s move on to the fun part – making your soy candle!
- Prepare the Melting Pot: Place the soy wax flakes or granules in the melting pot and heat it until the wax reaches the melting point (usually around 120°F to 140°F).
- Add the Wick: Carefully place the cotton wick into the melting pot, making sure it’s centered and straight.
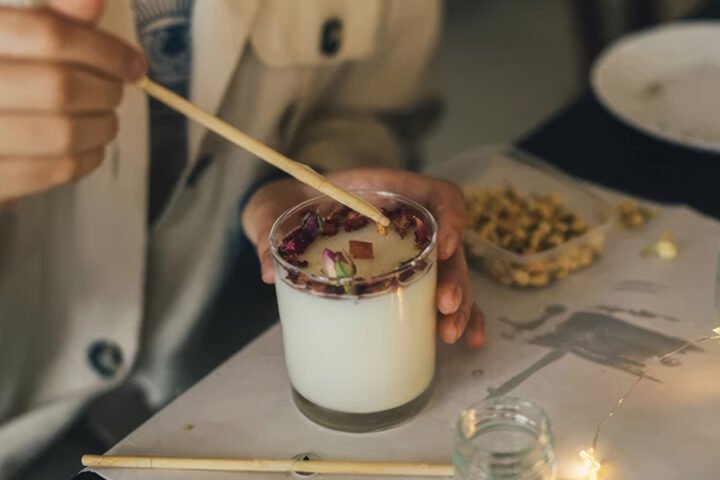
- Add Colorants and Fragrance: If desired, add a few drops of fragrance oil or a pinch of colorant to the melted wax. Stir well to combine.
- Prepare the Mold: Before pouring the wax mixture into the mold, make sure it’s clean and dry. If using a silicone mold, you can lightly spray it with cooking spray to ensure the candle will release easily.
- Pour the Wax Mixture: Pour the melted wax mixture into the prepared mold, making sure to fill it to the top.
- Allow the Wax to Cool and Solidify: Let the wax cool and solidify completely. This can take several hours, depending on the size of the candle.
- Remove the Candle from the Mold: Once the wax is solid, remove the candle from the mold and trim the wick to the desired length.
Tips and Variations
To take your soy candle-making skills to the next level, try these tips and variations:
- Experiment with different fragrance oils and essential oils to create unique scents.
- dd herbs, spices, or botanicals to the melted wax for a natural and rustic look.
- Use different mold shapes and sizes to create unique candle designs.
- Try layering different colors or textures to create a marbled or ombre effect.
Conclusion
Making soy candles at home is a fun and rewarding DIY project that allows you to create unique and personalized candles for your home or as gifts. With these step-by-step instructions and safety precautions, you’ll be well on your way to creating beautiful and eco-friendly soy candles. Remember to experiment with different fragrances, colors, and textures to make your candles truly special. Happy candle-making!